|
How To Fix A Flat- On Your Bike
Fixing a flat! Sounds easy, right? You'd be surprised by how many people don't know how to do it, and even more surprised by how much a shop will charge you. Fixing your own saves you money and makes you more self-reliant. And who wouldn't want that?
What you'll need for this job: tyre, inner tube, wheel, tyre levers (2), biro, pump, patch, vulcanising fluid (aka glue), sandpaper, bucket of water, patience
Time: 15 minutes
Part 1
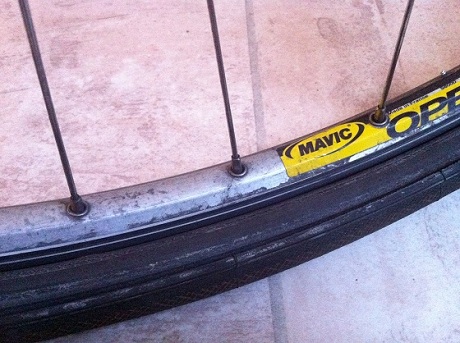
Undo your brakes if they are close to your rim, deflate the tyre and remove the wheel from bike. Remove one rim of the tyre (aka ‘bead') from the wheel rim with either tyre levers or your hands.
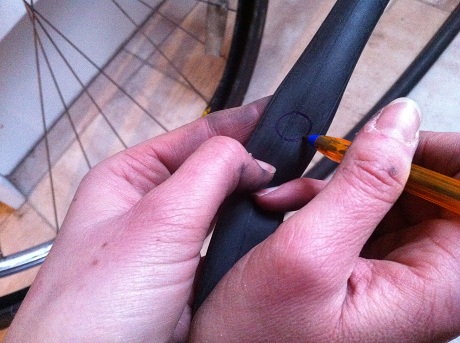
Take the inner tube out of the tyre, first by pushing the valve stem out of the hole in the rim. Now fill the removed inner tube with some air to find the hole. If you can't find it, fill a bucket with water and submerge - look for a steady stream of bubbles! When you find the hole, circle it with a biro.
Now this is the most important part - INSPECT THE INSIDE OF THE TYRE. What punctured your inner tube might be lurking inside and nobody likes a double puncture. (I'm speaking from experience here.) Also note if the puncture was on the outside circumference or inside circumference of the inner tube - this will tell you if it was something external (glass) or internal (spoke) that did the dirty deed.
If the inner tube is so far gone that putting a patch on it would be like pissing on a house fire, go ahead and use a new tube. You should try to use your old tube as much as possible though - waste not want not!
Part 2
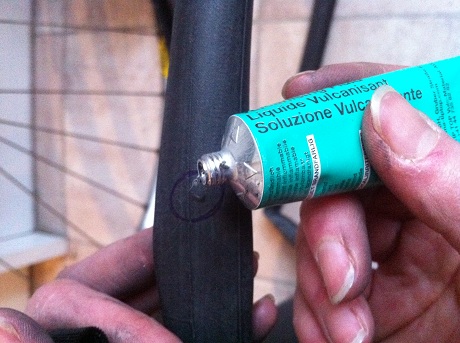
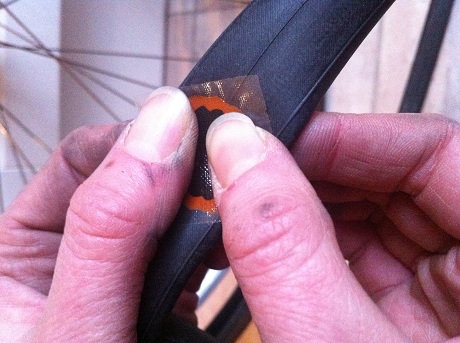
Lightly rough up the area around the hole with the sandpaper, then apply a thin layer of glue slightly larger than the patch size. Spread with finger, then let the glue dry, or at least get mostly dry. This is special magic vulcanising glue, not normal glue. Remove the foil off the patch, stick it on (usually orange side down, if you've got one of those kind) and press it firmly for a few moments. Then gently peel the top paper/plastic layer off (if you so desire). Put a little air in and check there are no leaks. DONE!
Part 3
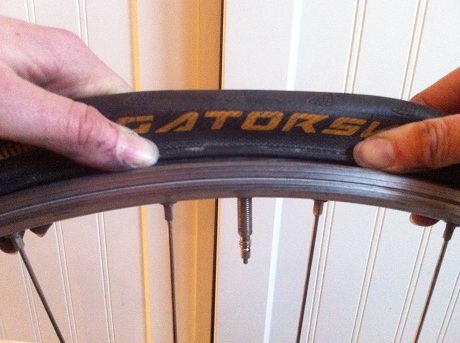
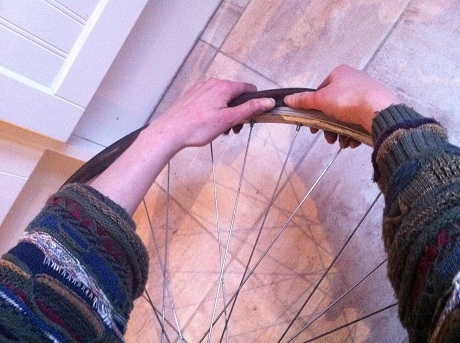
Not quite. Now you've got to get it back on. Make sure there's enough air in the tube so that it fills out as a loose circle. Put the tube into the tyre and then put the valve stem through the hole in the rim. Now put the tyre bead closest to the rim inside the rim, tucking the tube with it, but making sure the tube is not kinked or sticking out. (If this happens, when you pump up the tyre it will exPLODE). Then starting at the valve again, put the other tyre bead in. This gets tough towards the end - you may want to hold the tyre horizontally on your lap and push away from you with your palms, or use tyre levers or a friend. When you're done, massage the tyre to get rid of any kinks.
Part 4
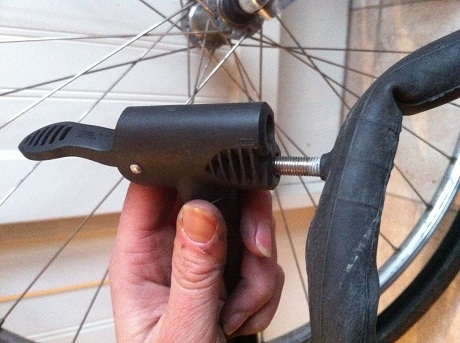
Now inflate the tyre to its proper pressure. This is located on the side of the tyre. About 45 - 60 PSI (pounds per square inch) for fatties and 80 - 100 PSI for skinnies. Bolt or quick release the wheel back onto the bike, making sure that it's evenly spaced between your forks (front) or chainstays + seatstays (back - these are the bars that run parallel with your chain + the bars that run down from your seat post to dropouts). If you're really anal, make sure your tyres run the right way - they will usually have arrows or the tread will be pointing in the forward direction. Don't forget to redo your brakes!
And that's it! Now you're ready to roll...
A final word to the wise: Always keep your tyres inflated to their proper pressure. This prevents punctures and makes your ride less sluggish. And invest in good tyres - they are worth their weight in gold.
|